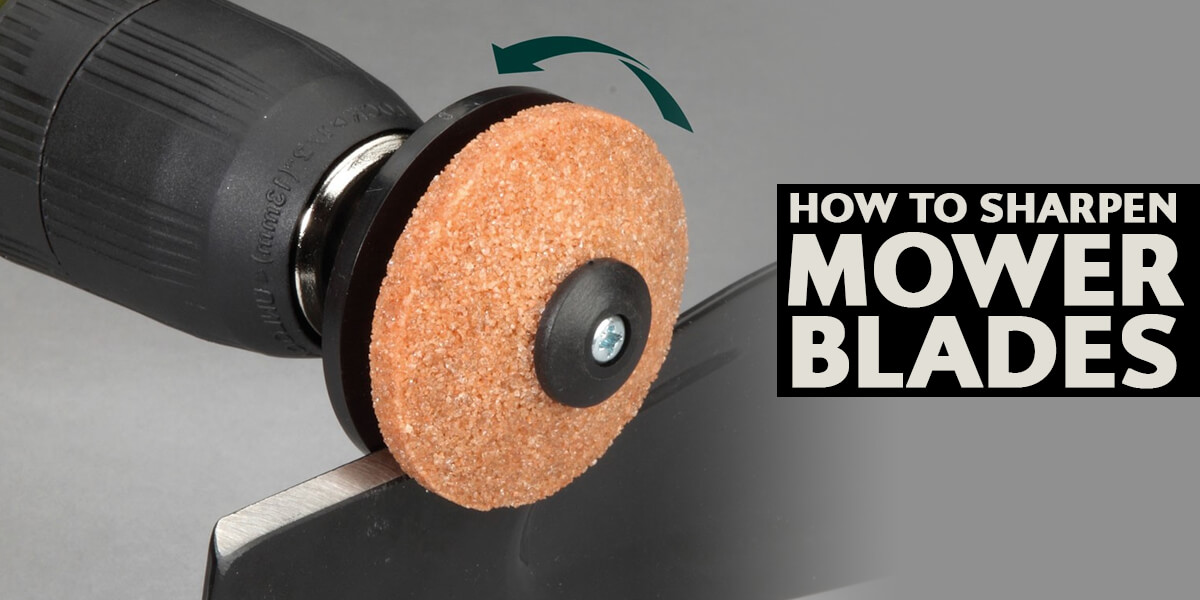
Mowing the lawn is a chore most people are happy to see the end of, that is, unless they turn around and see their patch of green looking like a raggedy mess. When your mower starts ripping and tearing the grass, it is time to sharpen the blades – and you can do that easily at home by following our step-by-step guide.
As much as you probably appreciate the look of a neatly trimmed lawn, there is a much more important reason than aesthetics to ensure your mower's blades are sharp enough to cut the grass evenly. Blades of grass, just like any other leaf, are at much greater risk of infection and disease when they're torn unevenly. This could ultimately lead to a sickly lawn that discolours and eventually dies.
With a few basic tools and a little time and effort, you can sharpen your mower blades to keep your grass looking neat and healthy.
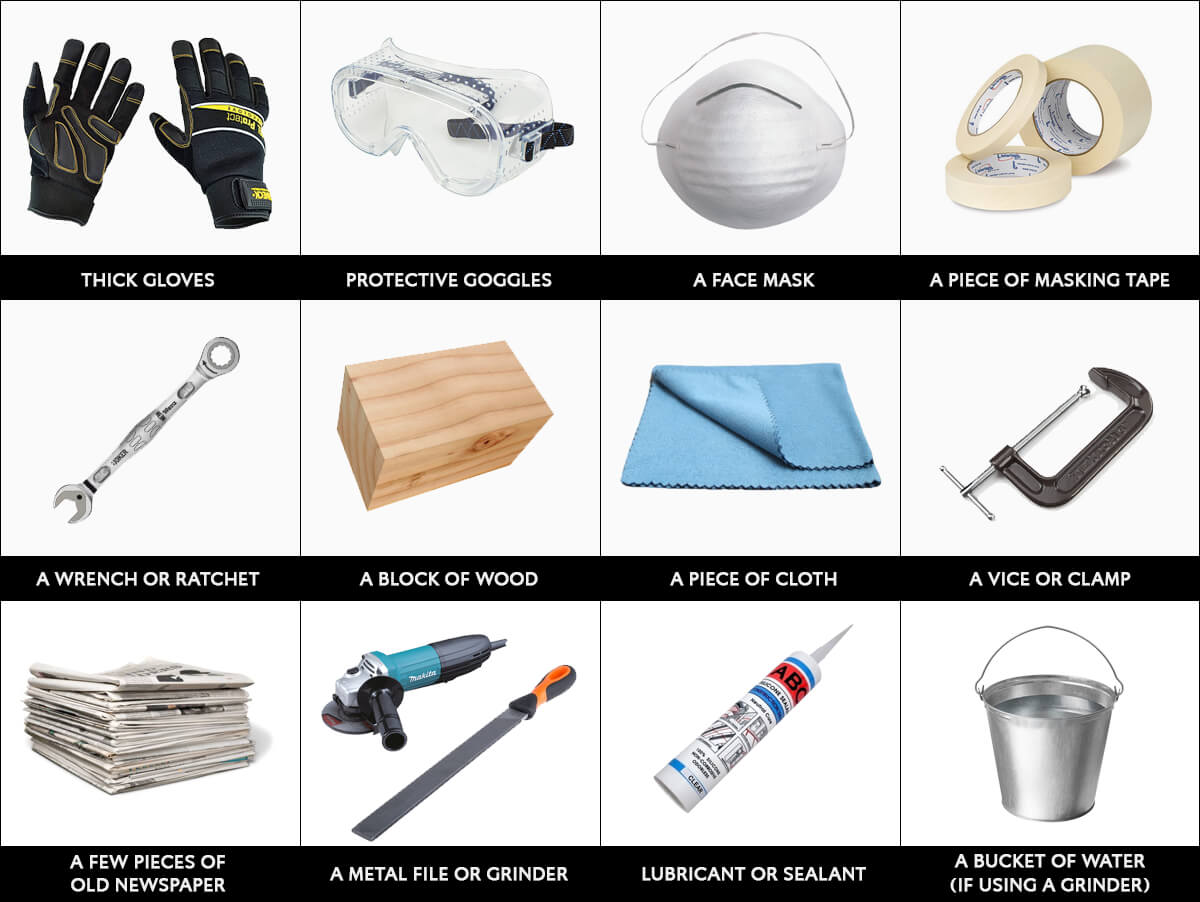
Tools and Equipment Needed
Preparing the Blade
We strongly recommend never trying to sharpen your mower's blade while it is attached to the machine. You will need to remove it, and before you do that, you should disconnect the battery or outlet as well as the spark plug. This is to ensure there is no chance of the machine starting while you are removing the blades.
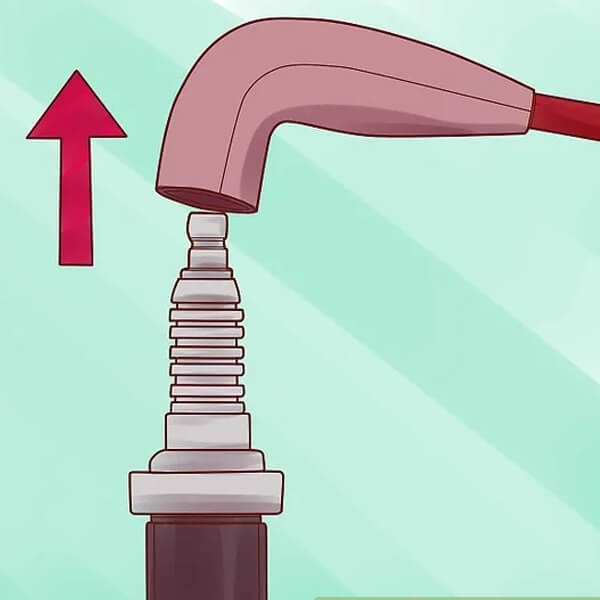
1. Disconnect the spark plug by turning the piece of rubber that joins the spark plug and the wire so that the back of the 'boot' faces the spark plug.
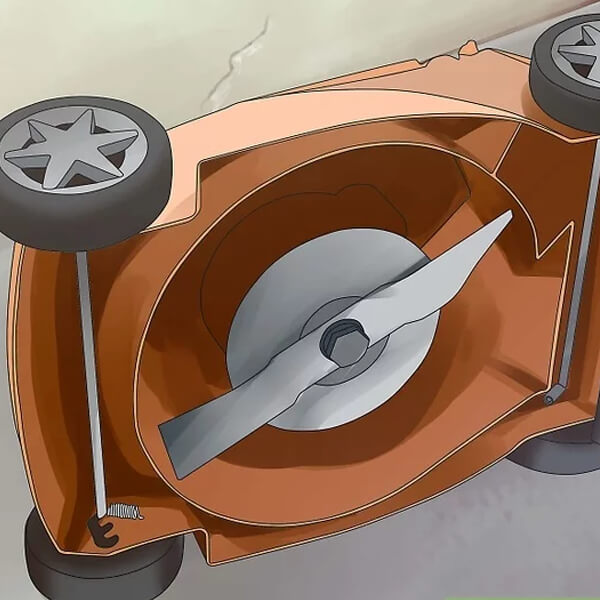
2. Turn the mower on its side. Don't do this willy-nilly – make sure the carburettor faces up, and the side with the oil dipstick is nearest the ground. Otherwise, you risk spilling oil into the carburettor and air filter.
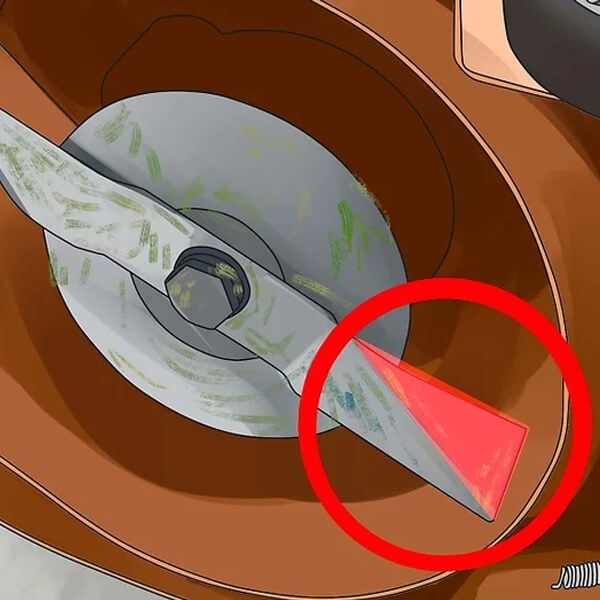
3. Use masking tape to mark the side of the blade facing down. This will prevent you from putting the blade back upside down.
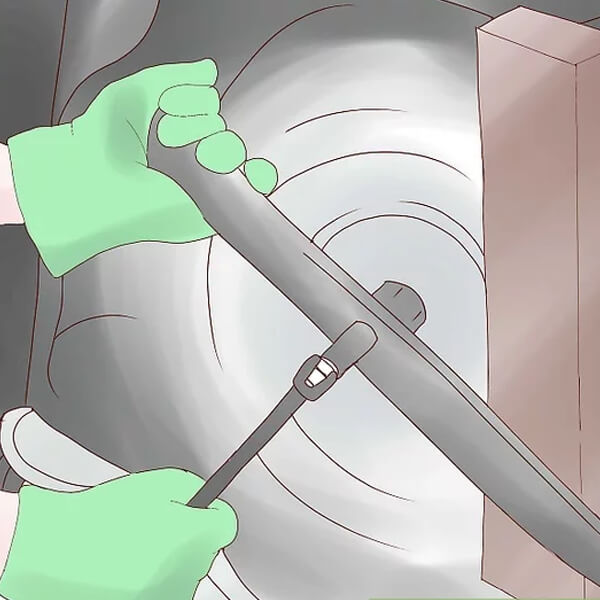
4. Wedge the block of wood between the blade and the mower to prevent the blade from turning when you loosen the bolt that fastens the blade to the machine. Use the wrench or ratchet to remove the bolt. If your mower's blades are held in place by a reverse threaded nut with plates or washers, take note of where they are placed so you don't have any problems when reattaching the blade.
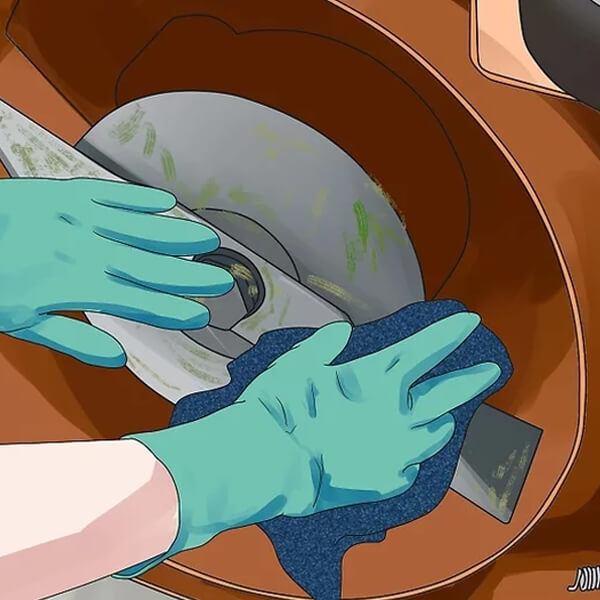
5. Use the cloth to clean bits of grass, dirt, and grime from the blade. If you wash the blade with soapy water, be sure to dry it properly before proceeding. If you notice any rust on the blade, now would be the time to take care of that.
Sharpening the Mower Blade
Now that you've taken the blade off the mower, it's time to sharpen it. You can do this by hand using a file, or you can do it by machine using a hand-held or bench grinder.
Sharpening Blades By Hand
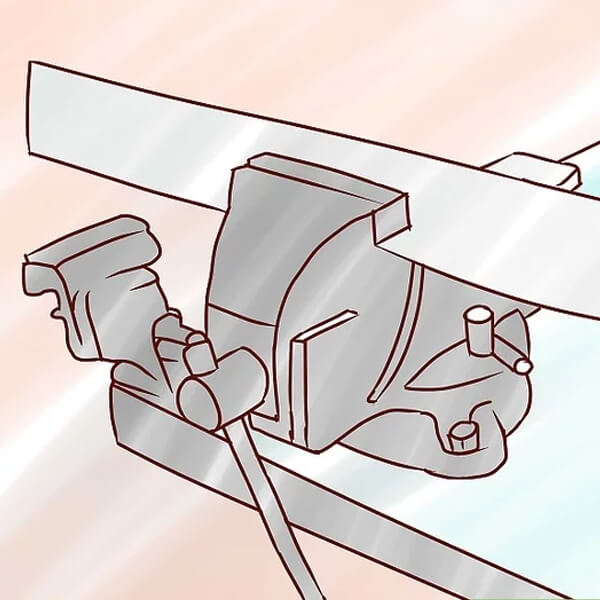
1. Use a vice or clamp to secure the blade at your workbench. It may be easiest to position the blade so that it juts out over the table’s edge. That way, you can sit on a chair or stool while sharpening the mower blade. Place a few sheets of newspaper on the ground under the blade to catch the filings.
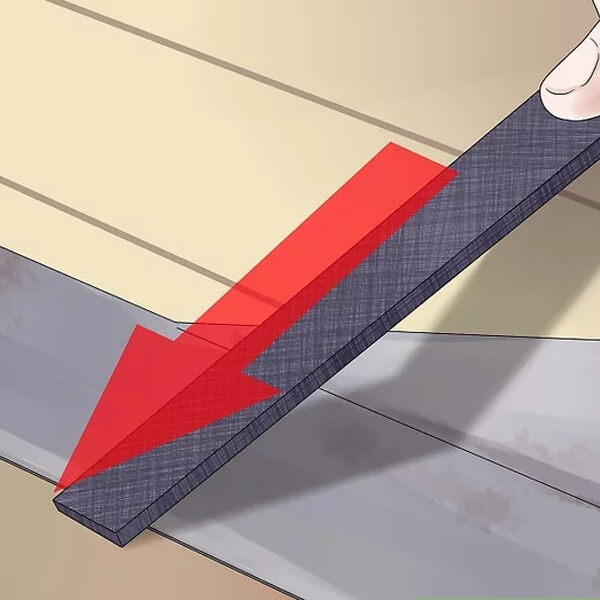
2. Use the metal file to sharpen the blade. Use smooth strokes, working from the inner edge to the outer edge. You'll want to see the edge of the blade shine and to be about as sharp as a butter knife. Turn the blade over, and then file the other edge. When filing, be sure to keep the file at the same angle as the blade's bevel (the sloping edge), which in most cases is 40 or 45 degrees.
Sharpening Blades By Grinder

1. If you haven't already put on your protective goggles and gloves, now is the time to do so. You may also wear something with long sleeves as an added precaution. Using a grinder to sharpen your mower blade will likely send tiny pieces of hot metal shooting off the blade, which may cause injury.
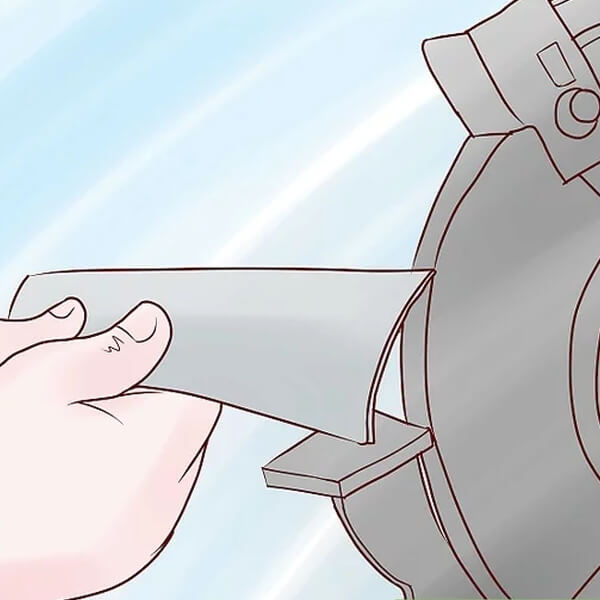
2. You do not need to secure the blade with a vice or clamp if using a bench grinder. Holding the blade, move it backwards and forwards against the grinder's wheel. Secure the blade with a vice or clamp if you use a hand-held grinder, and then move the grinder backwards and forwards along the blade's edge. Whether you use a bench or hand-held grinder, be sure to keep to the angle of the bevel.
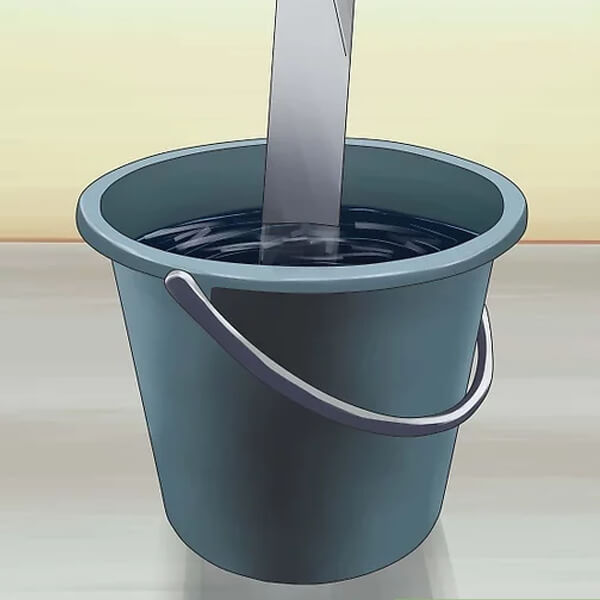
3. Keep a bucket of water handy if you use a grinder to sharpen the blade. A grinder causes much more friction than a hand file does, and that can heat the metal. The blade could get hot enough to warp. To prevent that from happening, quench the blade by plunging it into the water so it can cool down. Use the cloth to dry the blade thoroughly before continuing to sharpen it.
Reattaching the Blade
1. When you have finished sharpening the blade, you can reattach it to your mower. Put the blade back onto the spindle, making sure that the side with the piece of masking tape is facing you. Another way of checking that you have positioned the blade correctly is that the blade turns with the sharp edge facing forward.

2. Spray sealant or lubricant on the bolt and put it back in place before tightening it with the wrench or ratchet. Ensure that the bolt is tight.
As you can see, sharpening lawn mower blades is a relatively simple process. Once you have completed the steps described above, your mower should leave your lawn looking nice and neat and with a lower risk of disease. You can find most, if not all, of the equipment you need at Buildworld. If you are unsure of anything, our friendly staff will be happy to assist you.
Things To Remember
The following tips can help you improve the performance of your mower.
- Check your lawn after mowing it. If the cut edges of the grass blades are smooth, your mower's blade is still sharp. If they look rough, ragged, torn, and uneven, it's time to sharpen the blade.
- It's a good idea to sharpen your mower's blade at least twice during the growing season. Depending on where you live, that includes late spring, summer, and autumn. If you mow frequently, such as once a week or more, you should sharpen the blade several times during the season.
- Consider adding an additional step to refitting the blade. Use a balancer to ensure the blade is balanced. If the blade is unbalanced, it could damage the mower. If the blade is not balanced, you can file the side that tilts higher until it is balanced.
- All mower blades suffer a bit of wear and tear, but there is such a thing as too much wear and tear. If the blade is bent, cracked, dented, or worn significantly, sharpening it will not be of much use. Trying to fix such issues usually isn't worth the time or effort. Instead, consider replacing the blade with a new one.
- Before removing the blade for sharpening, consider draining the mower's engine oil into a container and checking whether it needs to be changed. Most manufacturers recommend changing the oil once a year to keep the machine in good working condition. Replacing the oil should take a couple of minutes, so it is well worth doing before you start work on the blade.
Follow the following steps when changing the oil:
- Warm up the engine to get the oil flowing smoothly
- Use a clean cloth to clean the area around the oil fill opening
- Place a container on the side of the mower where it will catch the oil as it pours out
- Remove the cap from the oil-fill
- Place the mower on its side and let the oil drain out
- If your mower has an oil filter, place a small container under it
- Unscrew the filter and let the oil in it drain into the container
- Use your finger to apply some fresh oil to the outer lip of the new filter
- Screw the new filter in place
- Consult the mower manual to find out how much clean oil to use
- Pour clean oil into the oil fill
- Use the dipstick to check the level
- Replace the cap on the oil fill
Whether you sharpen your blade only or you work on the blade and change the oil, these key elements of lawn mower maintenance should not take long. With a minimum of effort, you can make sure you get many hours of mowing out of your machine. Remember, if you have any questions, speak to the friendly staff at Buildworld.
Related Articles
Category
Study & ResearchPosted On
25th January 2023


